Physical Computing Exercise #
Create a circuit and Arduino code that does the following
Circuit #
Connect two LEDs to your Arduino using a breadboard
Connect one switch to your Arduino using a breadboard
Code #
Read a momentary switch being pressed
When the program starts, both LEDs are off
When the switch is pressed once, the first LED turns on
When the switch is pressed the second time, the second LED turns on (the first one should also still be on)
When the switch is pressed the third time, both LEDs turn off
Repeat this same cycle of LEDs turning on and off in sequence (off, one LED, two LEDs, off…)

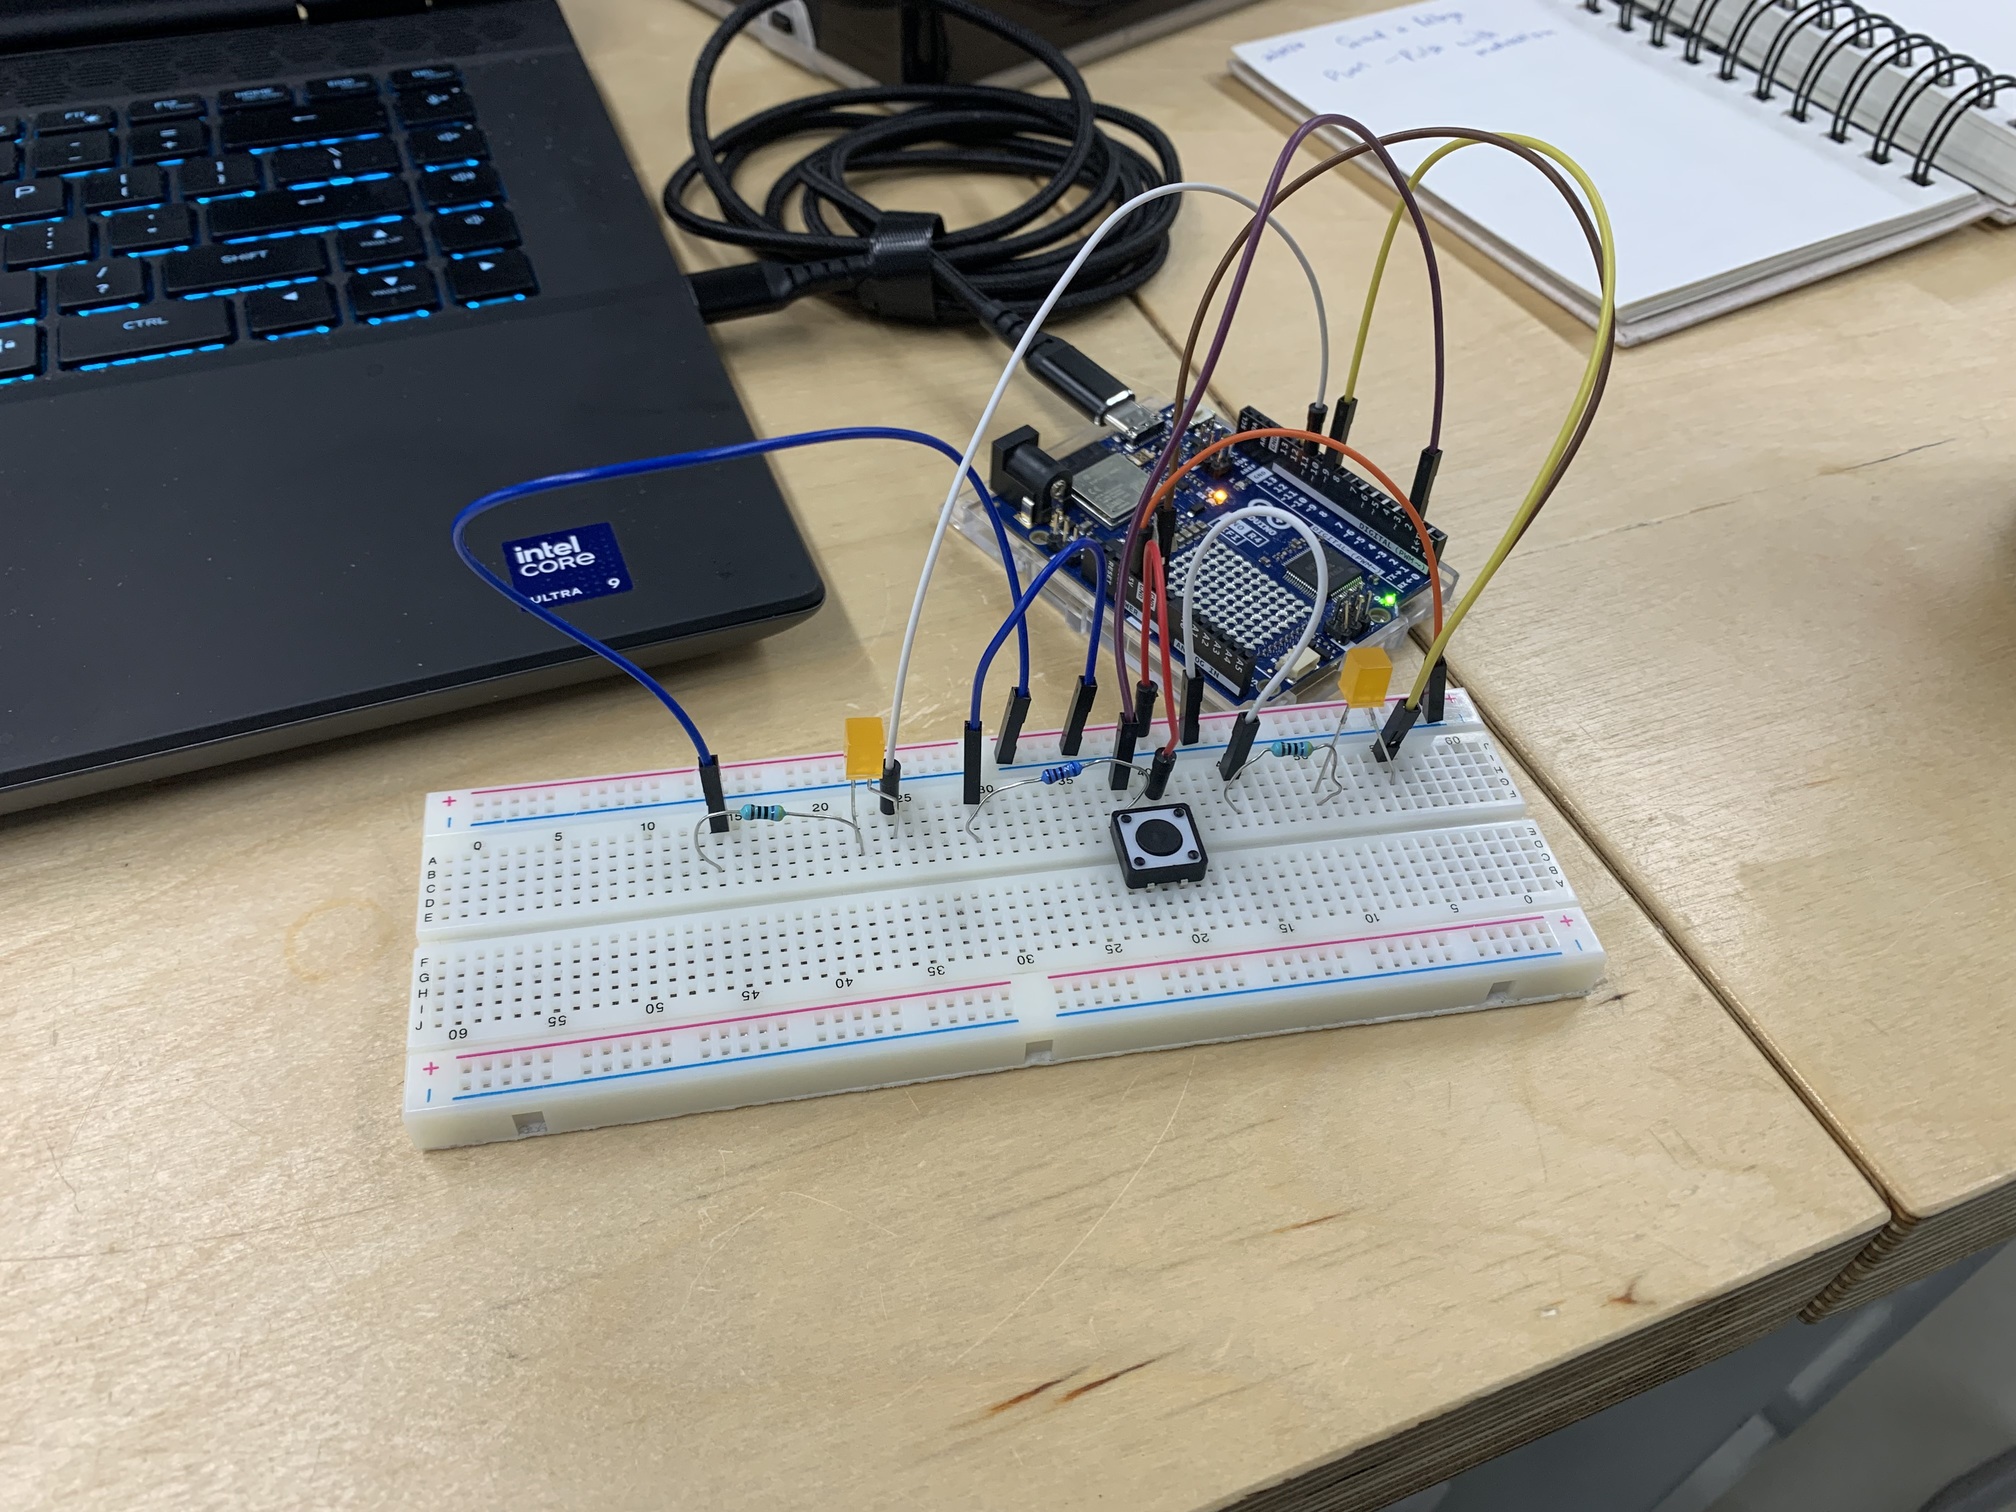
Both LEDs are OFF.

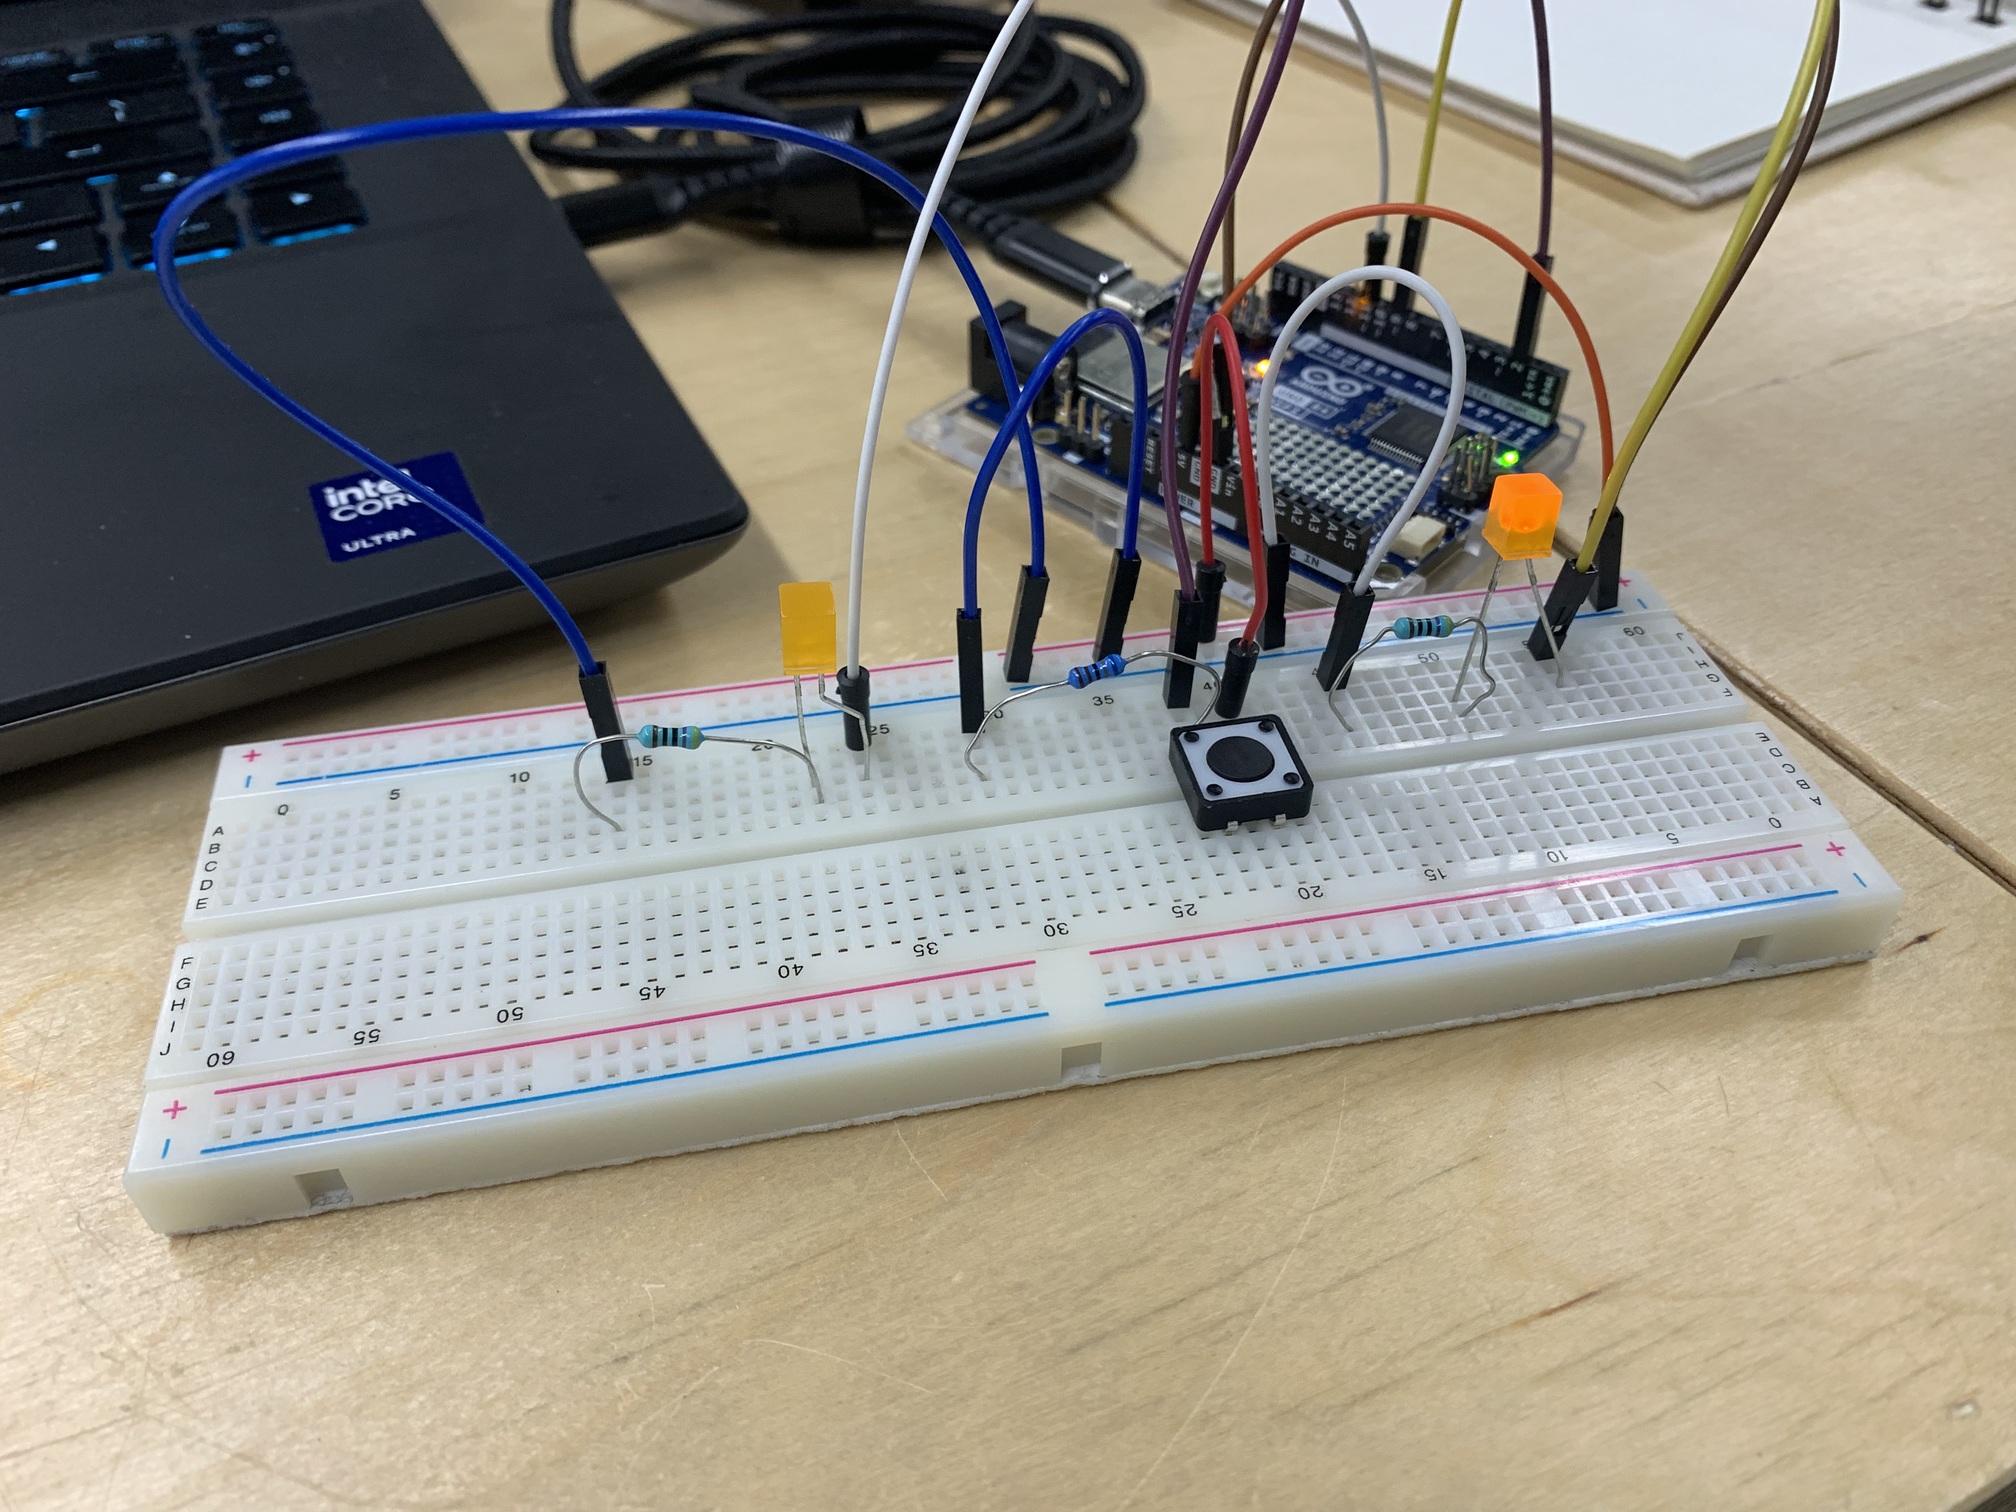
One LED is ON.

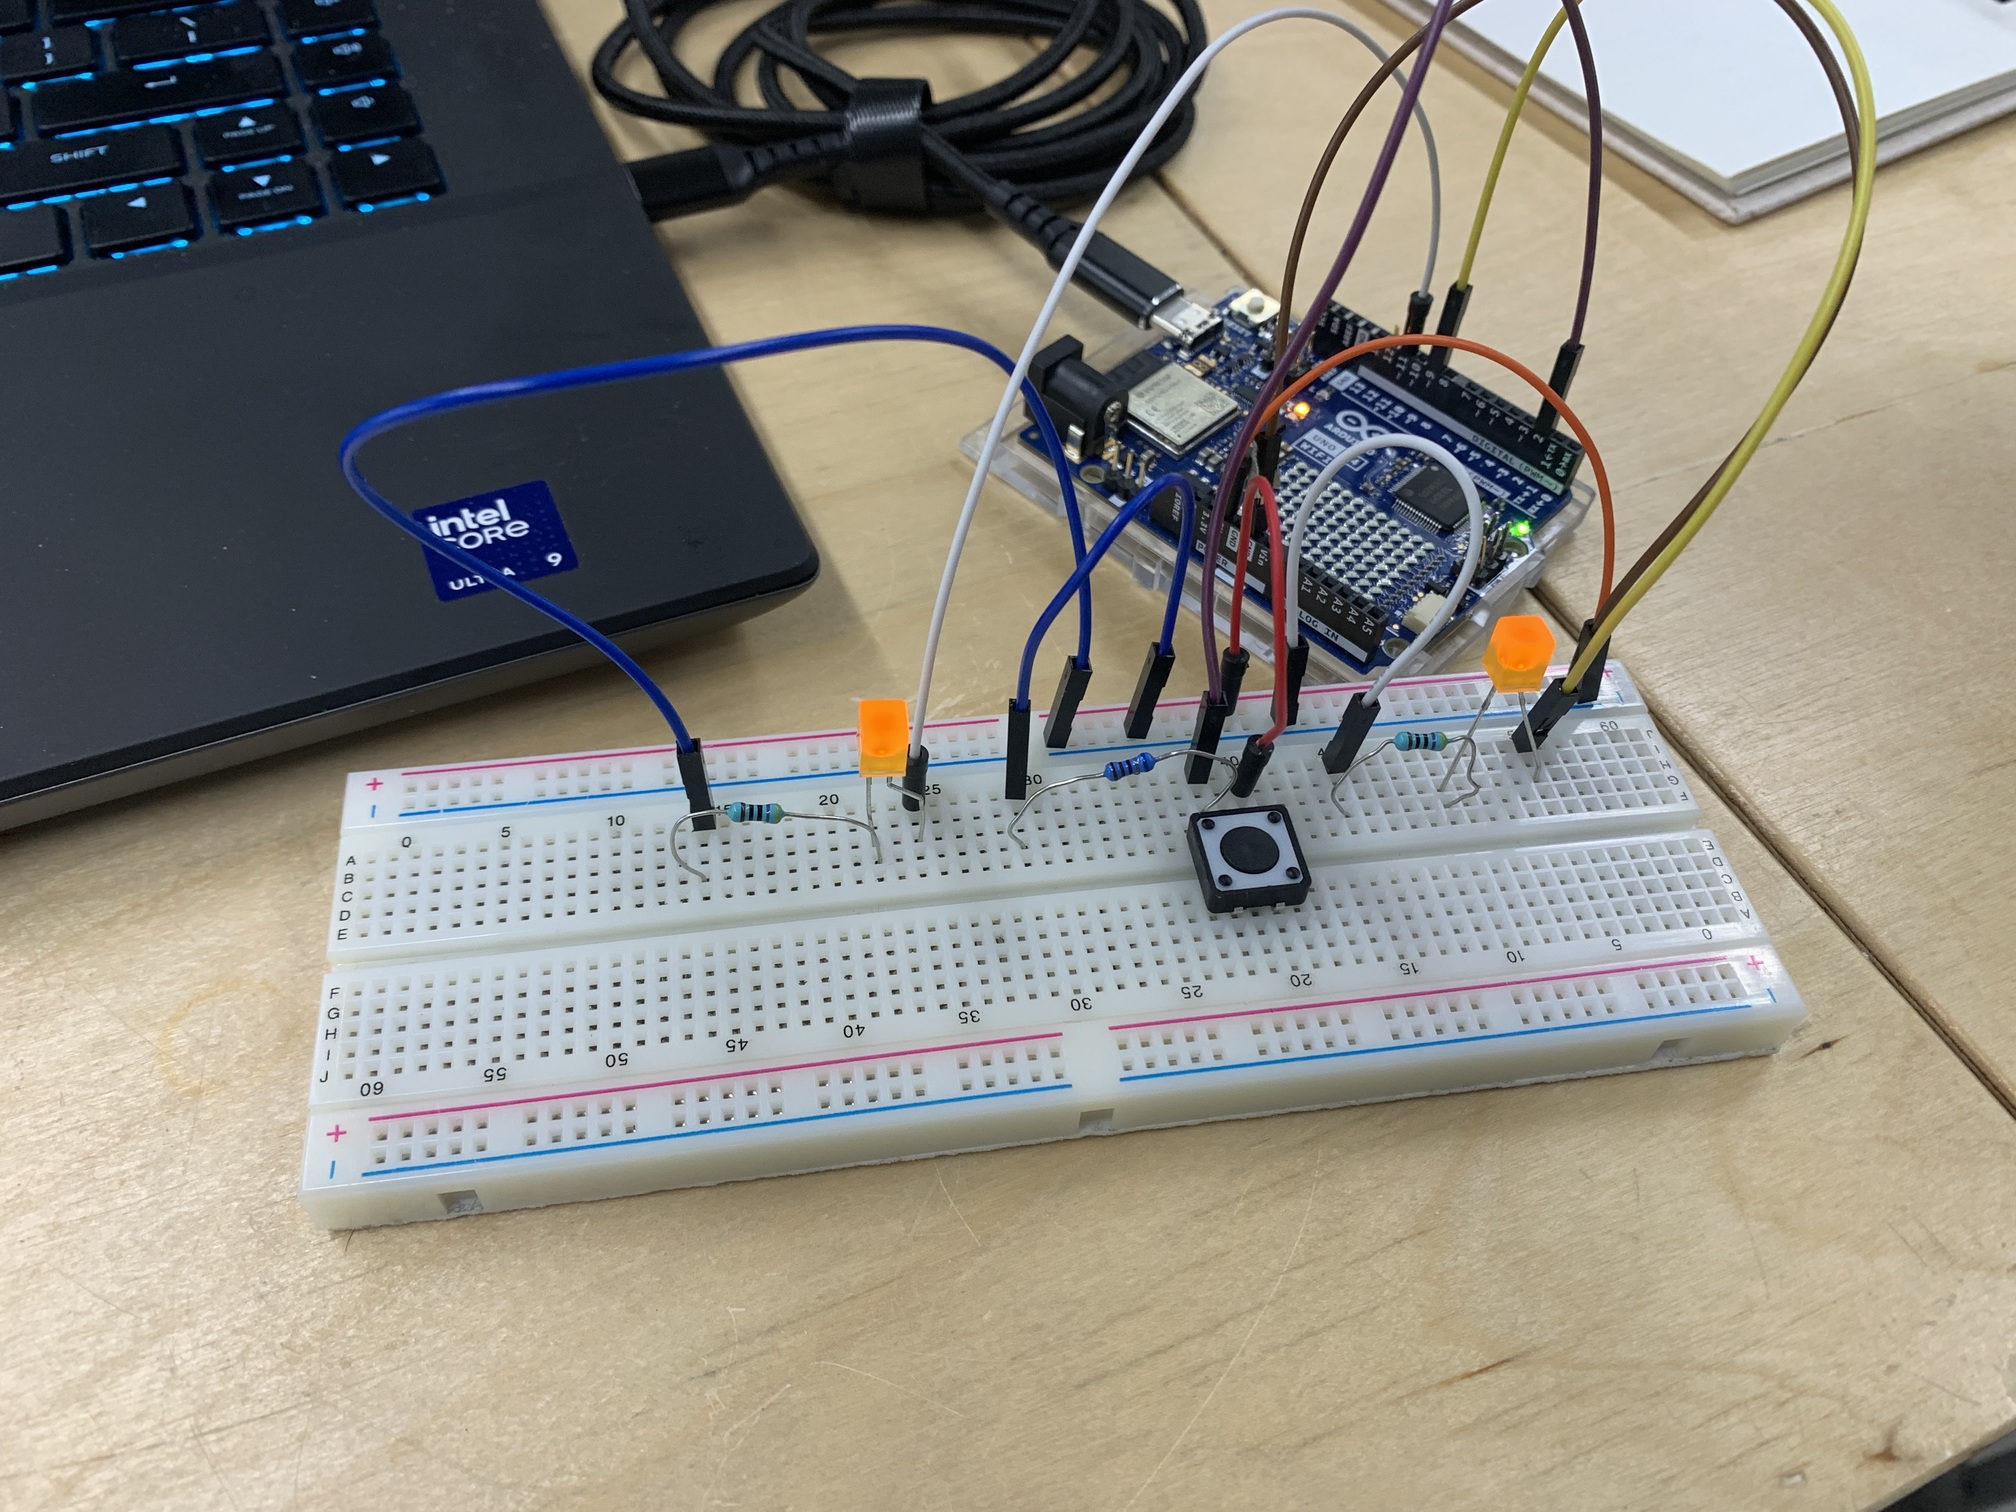
Both LEDs are ON.
Reflection #
The three cases listed in the assignment are demonstrated above. I followed a similar process to how we read LED input in class. For the circuit, I added another LED on pin 11 to my circuit from class. For the code, I added a state variable that determines which of the three required states the circuit should be in. Finally I added a delay to smoothen the transition between two different states so that there were no jitters in reading the button input.
Here is my code attached:
int ledPin1 = 9;
int ledPin2 = 11;
int btnPin = 2;
int btnVal = 0;
int state = 0;

void setup() {
  // put your setup code here, to run once:
  pinMode(ledPin1, OUTPUT);
  pinMode(ledPin2, OUTPUT);
  pinMode(btnPin, INPUT);
  Serial.begin(9600);
}

void loop() {
  // put your main code here, to run repeatedly:
  btnVal = digitalRead(btnPin);

  if(btnVal == HIGH){
    state++;
    if(state >= 3){
      state = 0;
    }
    delay(200);
  }

  if(state==0){
    digitalWrite(ledPin1, LOW);
    digitalWrite(ledPin2,LOW);
  }else if(state==1){
    digitalWrite(ledPin1, HIGH);
    //digitalWrite(ledPin2,LOW);
  }else{
    //digitalWrite(ledPin1, HIGH);
    digitalWrite(ledPin2,HIGH);
  }

  Serial.println(state);

  delay(10);

}
featured img: Stonefish