Instruction #
Create a circuit and Arduino code that does the following
Circuit #
- Connect two LEDs to your Arduino using a breadboard
- Connect one switch to your Arduino using a breadboard
Code #
- Read a momentary switch being pressed
- When the program starts, both LEDs are off
- When the switch is pressed once, the first LED turns on
- When the switch is pressed the second time, the second LED turns on (the first one should also still be on)
- When the switch is pressed the third time, both LEDs turn off
- Repeat this same cycle of LEDs turning on and off in sequence (off, one LED, two LEDs, off…)
Pictures of my circuit #
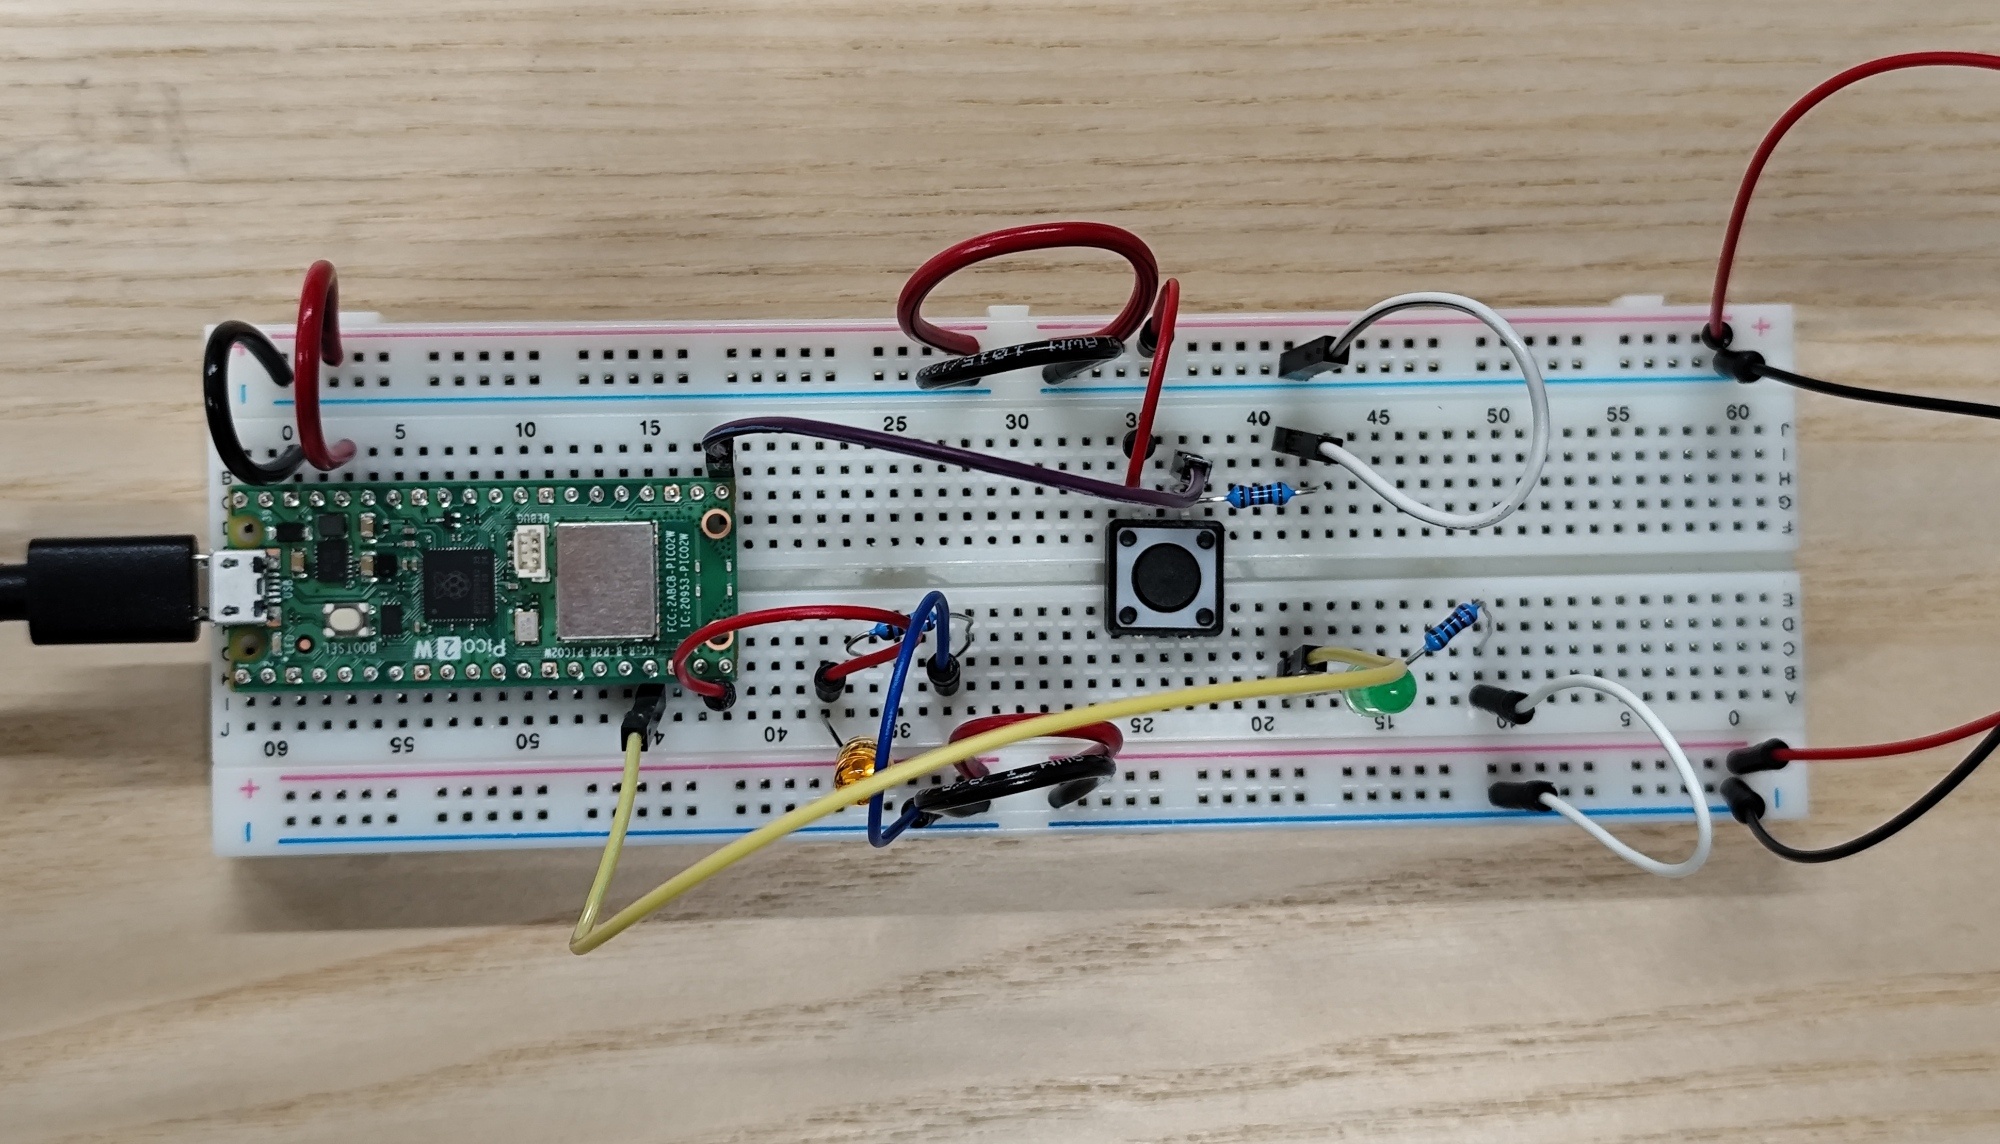
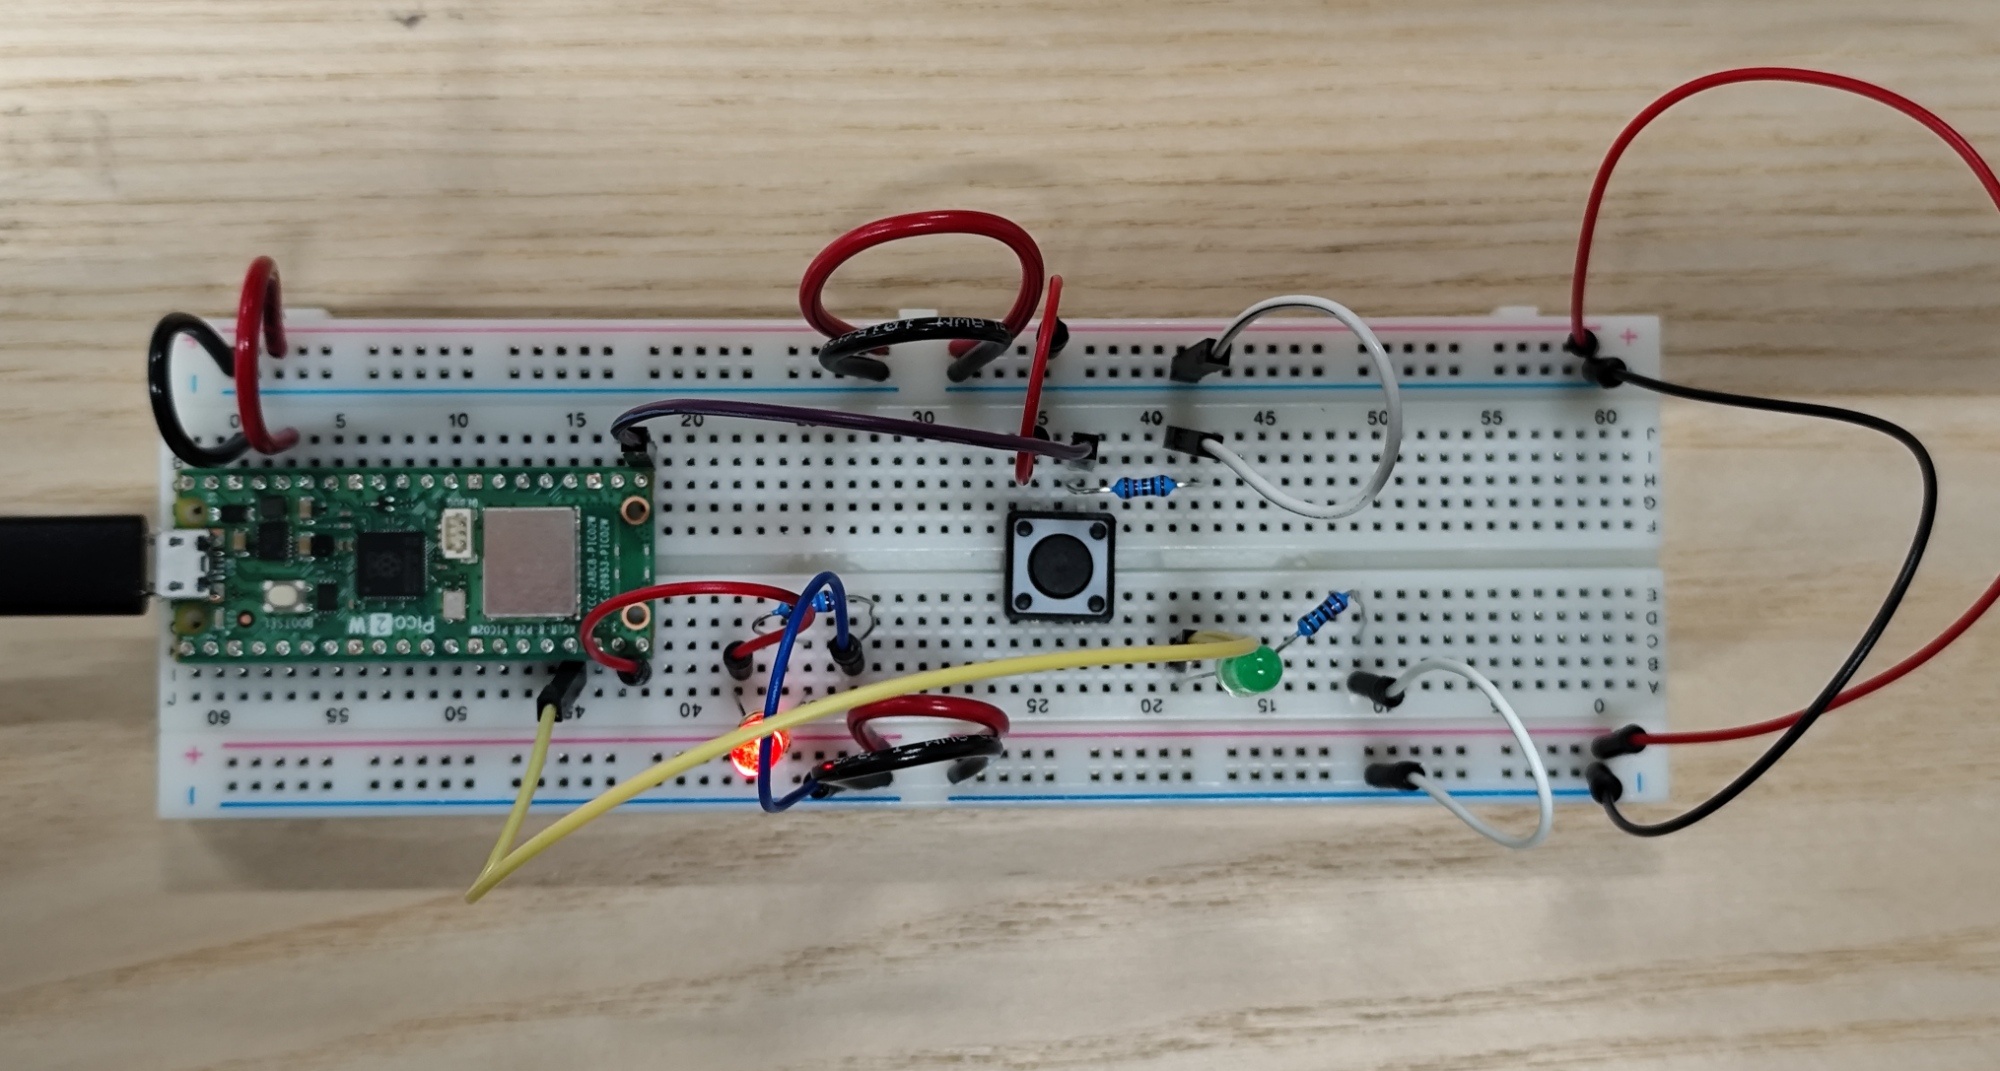

This circuit part was simple to make, because I had to add just one LED to another GP (in my case, GP 13).
My Code #
Version 1 (with small issue)
int button;
int i=0;

void setup() {
  pinMode(15,OUTPUT); // LED n°1
  pinMode(13,OUTPUT); // LED n°2
  pinMode(16,INPUT); // Button
  Serial.begin(9600); // Sending speed from Pico
}

void loop() {
  button = digitalRead(16);
  Serial.println(button);

  if(button == 1){
    i++; // if button is pressed add 1 to i

    switch(i){
      case 1: digitalWrite(15,HIGH); break; // Turn on LED n°1 when button is pressed once
      case 2: digitalWrite(13,HIGH); break; // Turn on LED n°2 when button is pressed the second time
      case 3: i = 0; break;                 // Return i to 0 when button is pressed the third time
    }
  }

  if(i == 0){ // When i is 0 turn off all
    digitalWrite(15,LOW); // Turn off LED n°1
    digitalWrite(13,LOW); // Turn off LED n°2
  }

  delay(100);
}
The coding part was easy, so I wrote it quickly. But at first, I set the delay to 10, and that made the button’s info (0 and 1) update too fast. Because of that, pressing the button once produced too many 1. As a result, unless I pressed and released the button extremely quickly, both LEDs stayed on all the time. I didn’t realize it was a delay issue at first, but once I figured it out and changed the delay to 100, it worked fine.
However, if I keep holding the button, I can see the stages changing continuously. So to prevent this, I add one line to my code to detect only when the button state change.
Version 2 (solved)
int button;
int previousButton = 0;
int i=0;

void setup() {
  // put your setup code here, to run once:
  pinMode(15,OUTPUT); // LED n°1
  pinMode(13,OUTPUT); // LED n°2
  pinMode(16,INPUT); // Button
  Serial.begin(9600); // Sending speed from Pico
}

void loop() {
  // put your main code here, to run repeatedly:
  button = digitalRead(16);
  Serial.println(button);

  if(button != previousButton){ // Detect only when the button state changes (prevents multiple counts while holding)
    if(button == 1){
      i++;
    }
  }
  previousButton = button;

  switch(i){
    case 1: digitalWrite(15,HIGH); break; // Turn on LED n°1 when button is pressed once
    case 2: digitalWrite(13,HIGH); break; // Turn on LED n°2 when button is pressed the second time
    case 3: i = 0; break;                 // Turn off all when button is pressed the third time
  }

  if(i == 0){
    digitalWrite(15,LOW); // Turn off LED n°1
    digitalWrite(13,LOW); // Turn off LED n°2
  }

  delay(10);
}